
Soft Dinner Rolls Made with Fresh Milled Flour
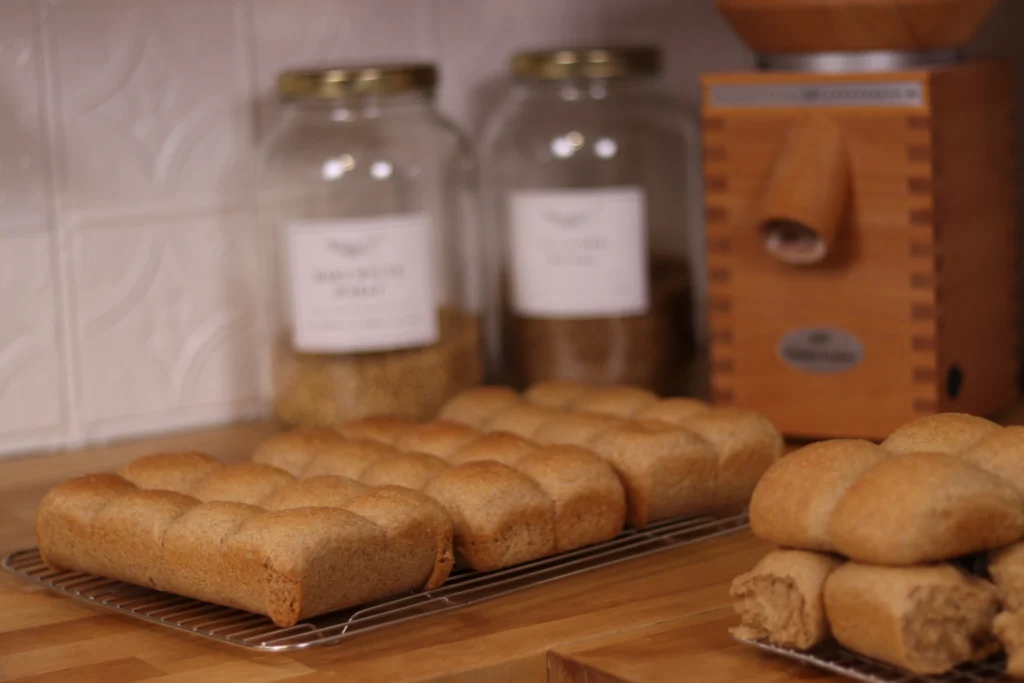
Looking for the perfect soft, squishy, slightly sweet dinner rolls made with fresh milled flour? These check all the boxes!
These dinner rolls are made with 6 simple ingredients and are much better than anything you can find at the store.
They’re great on their own, as a side with dinner, or you can use them to make tiny slider sandwiches. The only problem is they never last long because they get eaten up as soon as I make them.
Our favorite way to eat them is fresh out of the oven with butter and a sprinkle of salt.
This is a recipe I spent months perfecting trying dozens of variations. I’d call it my secret recipe, but today I’m sharing it with you!
What You’ll Need
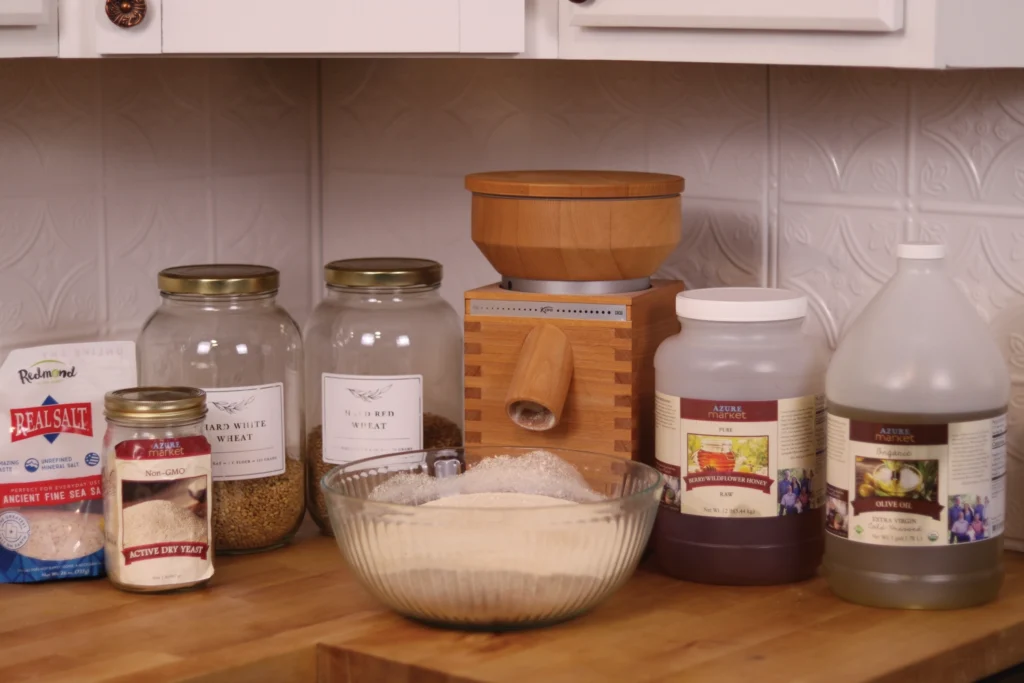
6 Simple Ingredients
- Wheat (Hard Red and/or Hard White)
- Olive Oil
- Honey
- Salt
- Yeast
- Water
Equipment Needed
- Grain Mill
- Stand Mixer with Dough Hook
- Large Mixing Bowl
- Small Bowl
- 5 bread pans or 2-3 casserole dishes (can substitute with pretty much any type of baking dish)
- Dough Whisk (optional)
- Silicone Liner or Parchment Paper (optional)
- Dough Cutter or Knife
- Pastry Mat or Clean Countertop
Watch How to Make Fresh Milled Rolls Over my Shoulder
You can watch the full video with detailed views over my shoulder of every step including shaping the rolls.
How to Make The Rolls
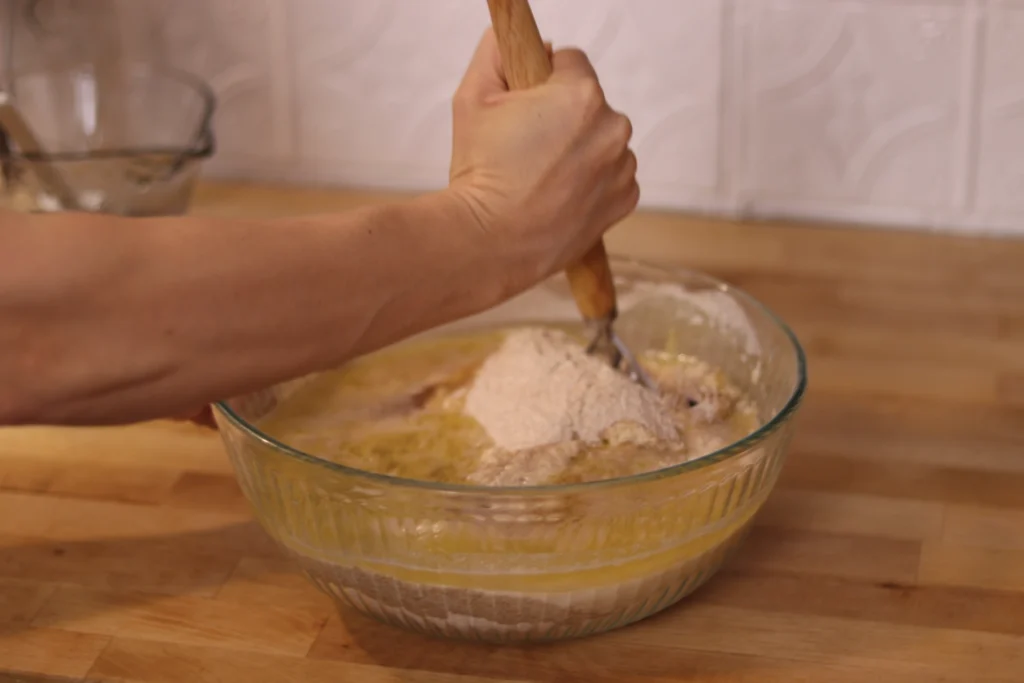
Mill the flour & mix ingredients
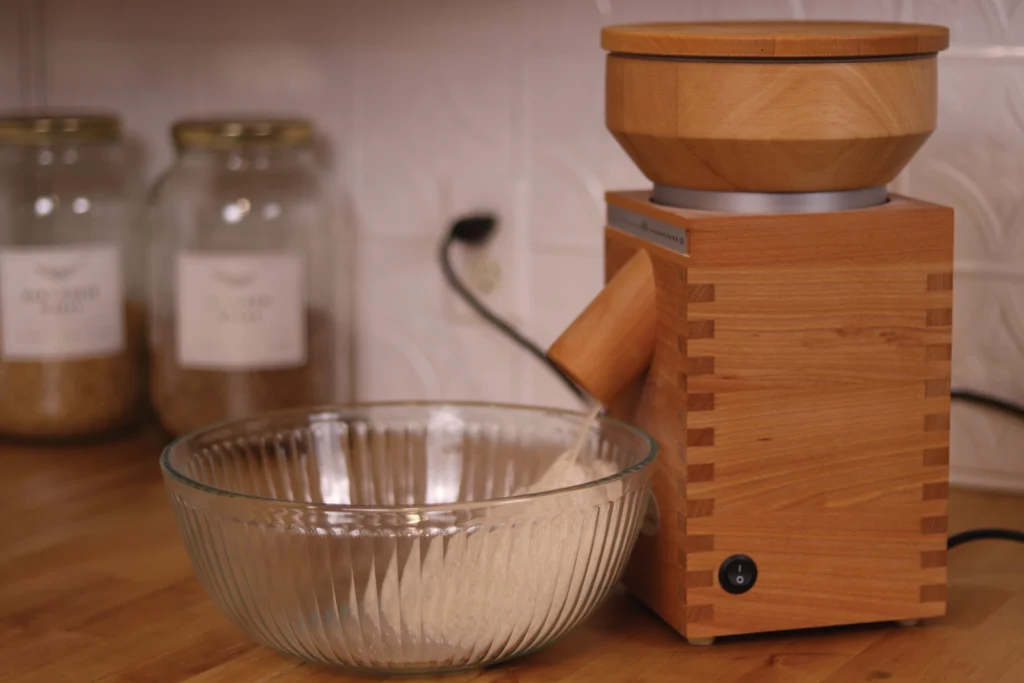
Mill the flour into a bowl. Mix in the salt.
In a separate bowl, mix together the olive oil, honey, and 700 grams of the water.
I’ve experimented with using both room temperature water and lukewarm water (90-100 degrees F) and the results are good either way. The bread rises a bit faster with using the warmer water though, so I do that when I’m in a hurry.
Dump the wet ingredients into the dry ingredients and mix with a dough whisk or spoon until it’s all incorporated and looks like a dough.
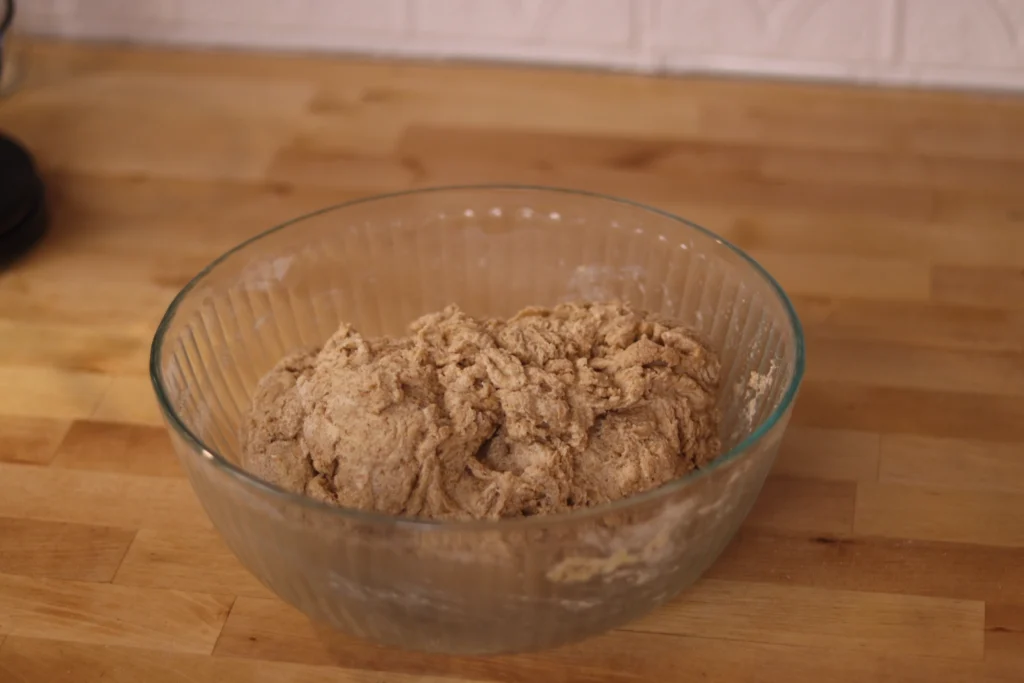
Autolyze (let the liquid soak into the flour)
At this point, you are reserving the yeast and 80 grams of water. This is because fresh milled flour takes longer to absorb liquid than all purpose or whole wheat flour from the store. Let the dough (without the yeast) sit for about 30 minutes to “autolyze” or let the liquid absorb into the flour.
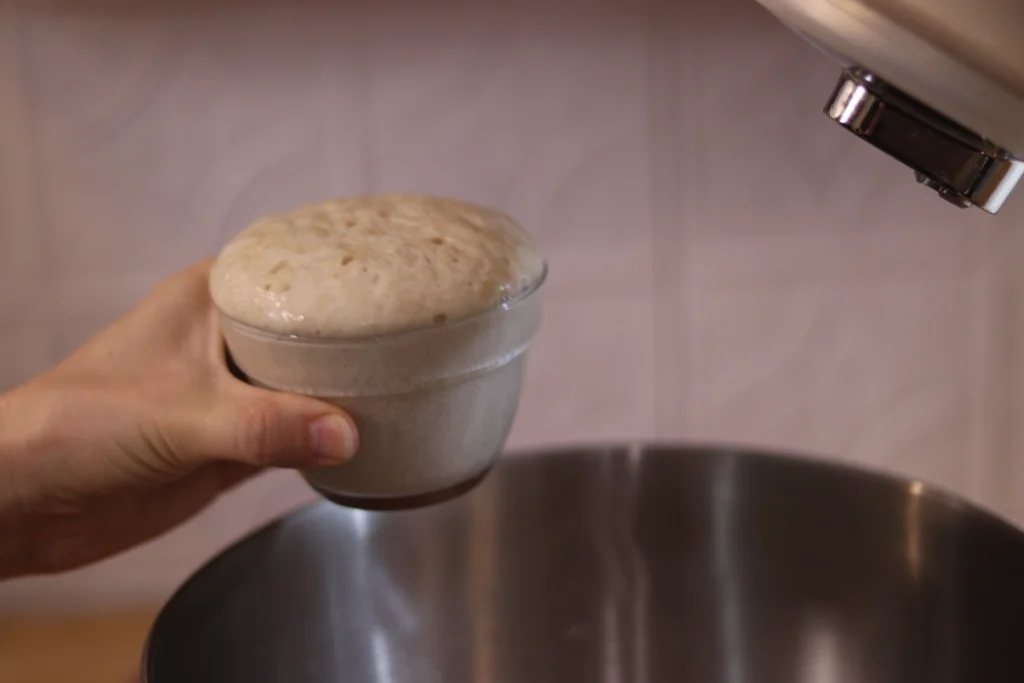
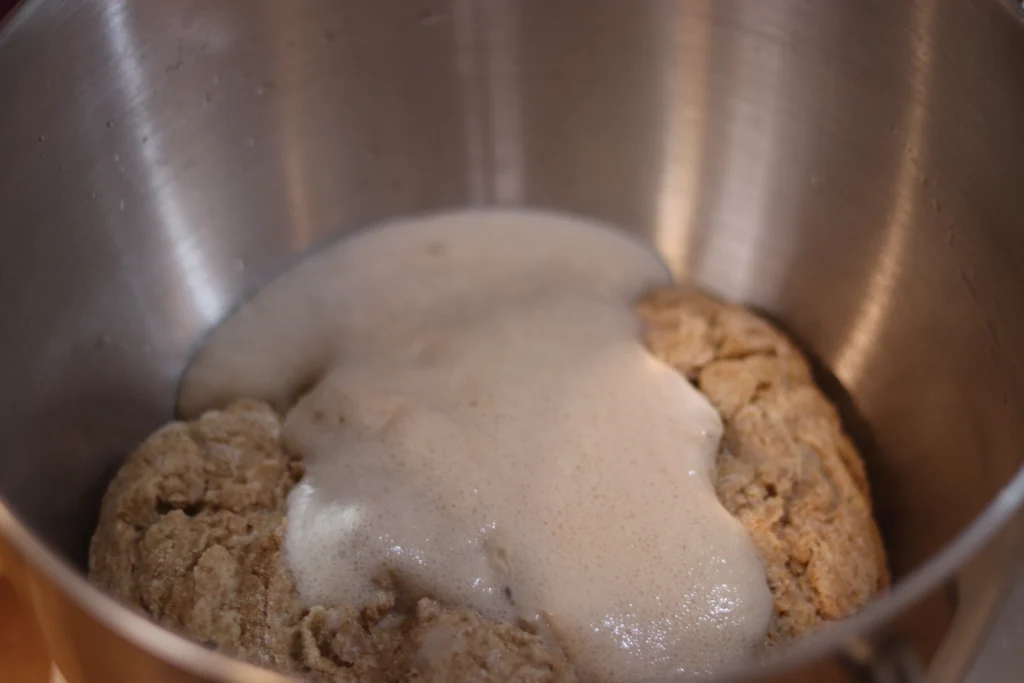
Add the Yeast
Heat water to about 90 degrees F. Add the yeast to a small bowl with a pinch of sugar or a few drops of honey. Add 80 grams of the lukewarm water and mix together. Let the yeast sit for about 10 minutes or until it is foamy and bubbly.
Mix the Dough
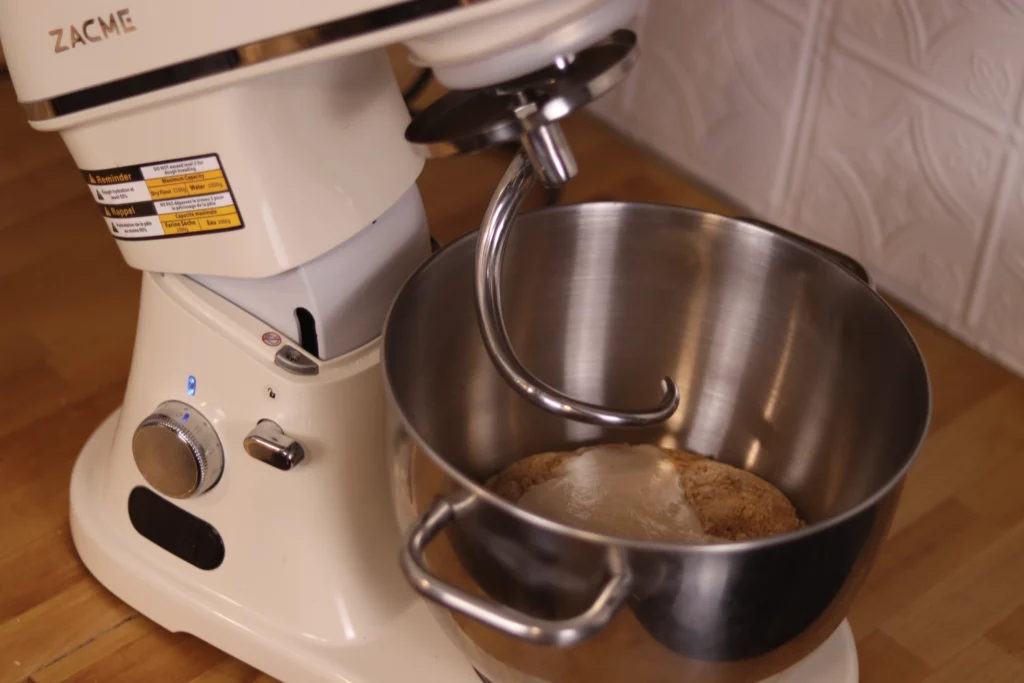
Add the dough to the bowl of a stand mixer and add the bubbly yeast to the top. The time it takes to mix will depend on your mixer.
First, I let it mix for about a minute on speed one, and then let it rest for 2 minutes so the yeast mixture can absorb. Otherwise the dough just slides around in the mixing bowl and doesn’t actually knead it.
Then, using our Zacme mixer I mix on speed 2 for 10-12 minutes. Fresh milled flour can take a while to finish kneading and reach windowpane.
If you’re using a different type of mixer it could take a longer or shorter time so you’ll need to know how to check the dough to see if it’s ready (reached windowpane).
How to Know when Kneading is Done
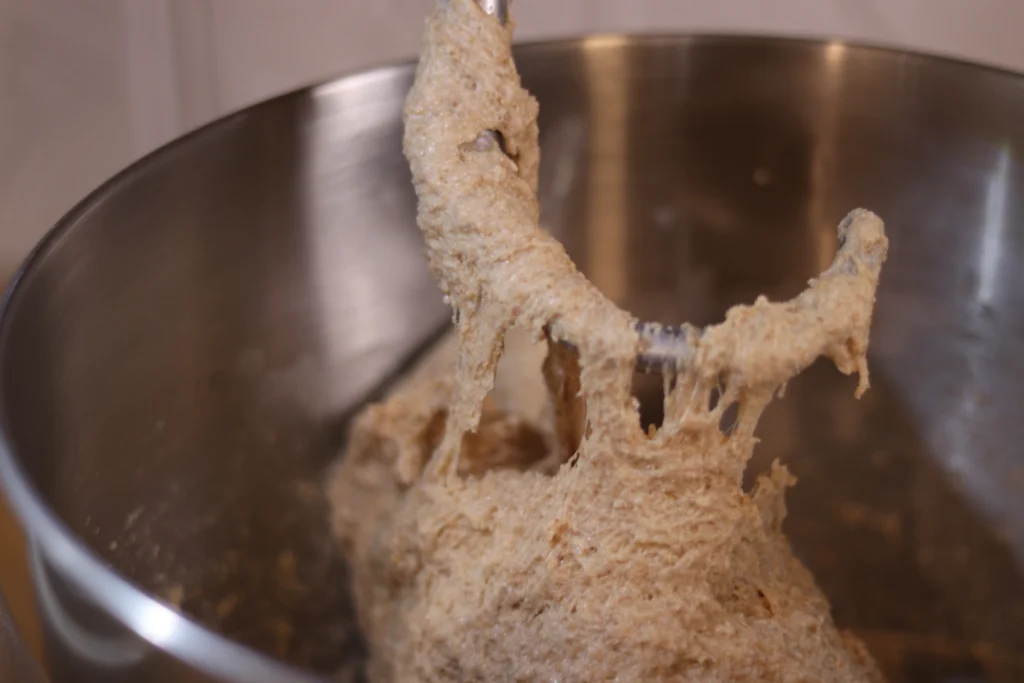
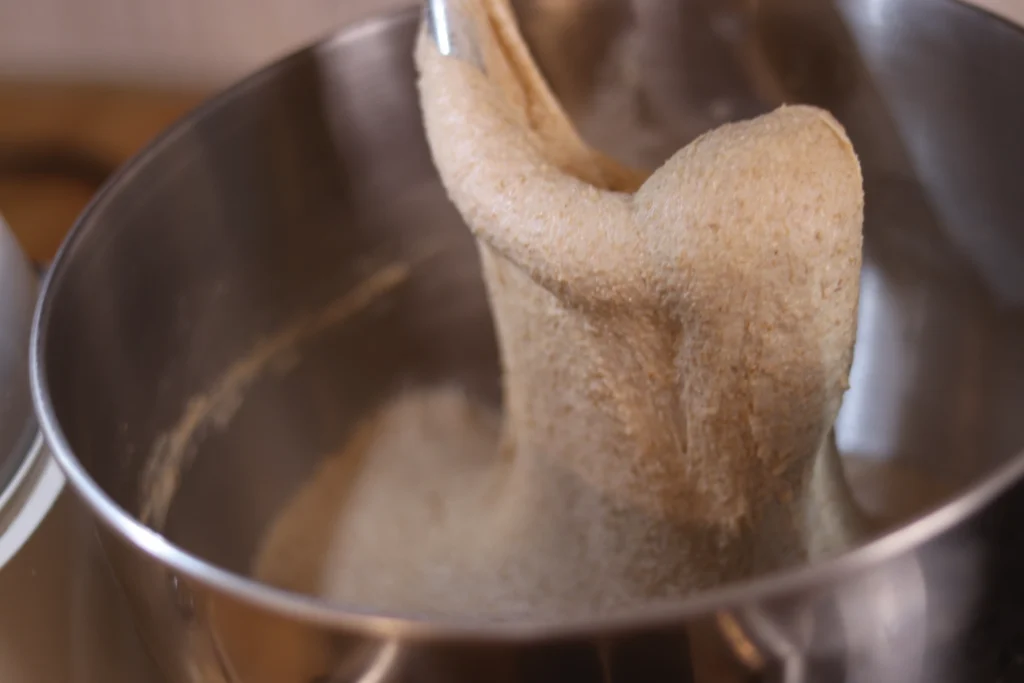
When you first start mixing the dough, it will be very wet and sticky. If you were to stop your mixer and lift up the dough hook, it would fall right off and break apart.
As it keeps mixing, the dough will develop gluten strands and start to stick to itself. Once it seems like a big ball that’s stuck together it might be done.
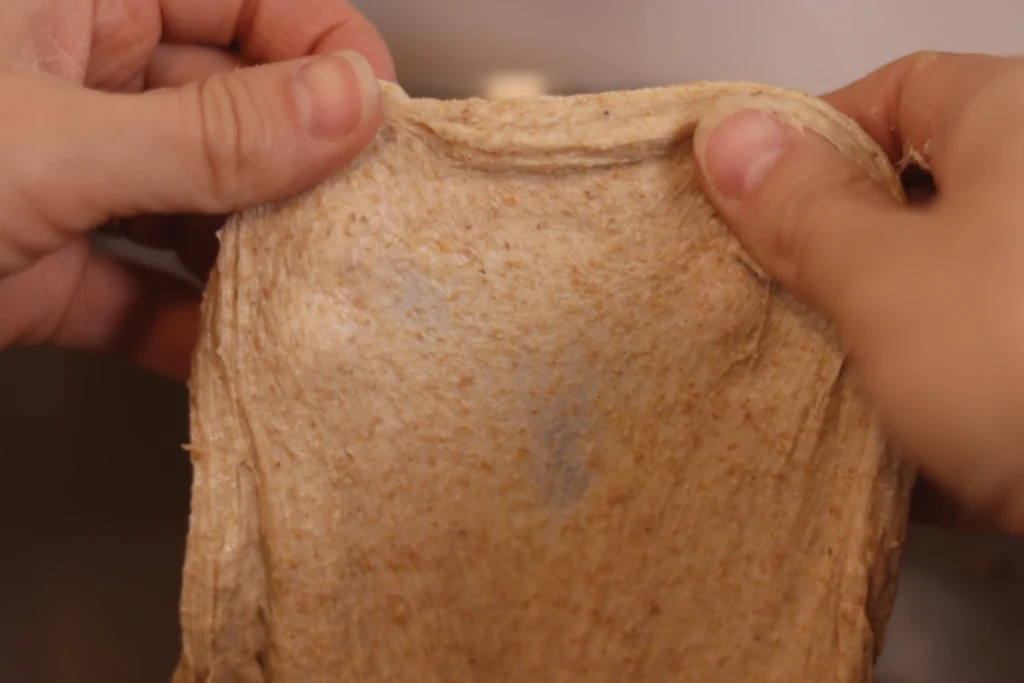
To check, take a little bit of dough and try to stretch it out thin enough to be able to see a bit of light through the dough.
If you can stretch it enough to see some light through the dough, that means it has reached windowpane (see photo) and your dough is ready. If it just tears apart, you will want to mix the dough a bit longer.
First Rise
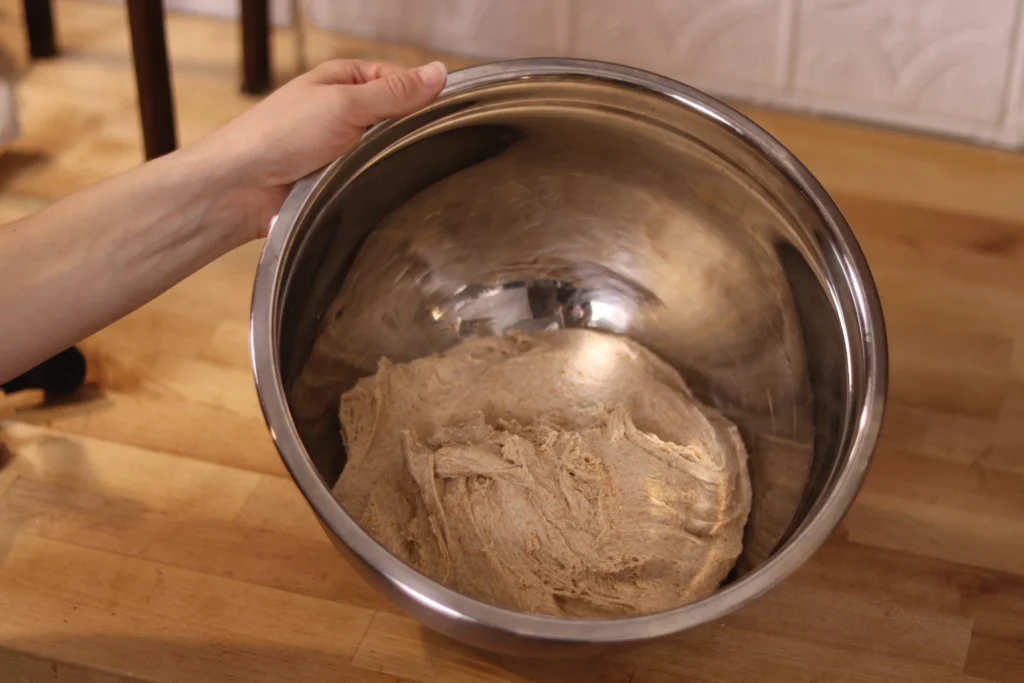
Oil another large mixing bowl (I used olive oil, but any oil will work) and dump the dough from the mixer to the oiled bowl. Cover and let it rise for about 20 minutes.
Shaping the Dough
While waiting for the dough to rise, prepare a pastry mat (or your counter) by putting a thin coating of olive oil on it.
With this recipe, you will be using oil to prevent the dough from sticking instead of flour. (When you use flour, the dough ends up too dense). You can keep adding oil to your fingers and counter/pastry mat as needed while you are shaping the dough.
Also get your bread pans or casserole dishes ready by oiling them well with olive oil, or placing a silicone liner or parchment paper in them.
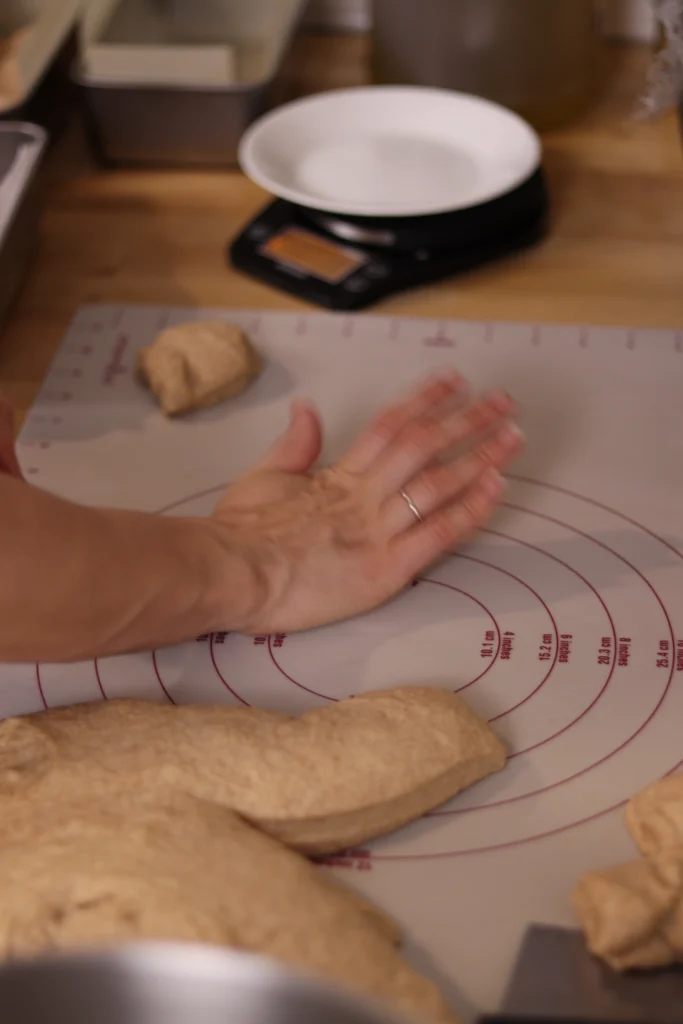
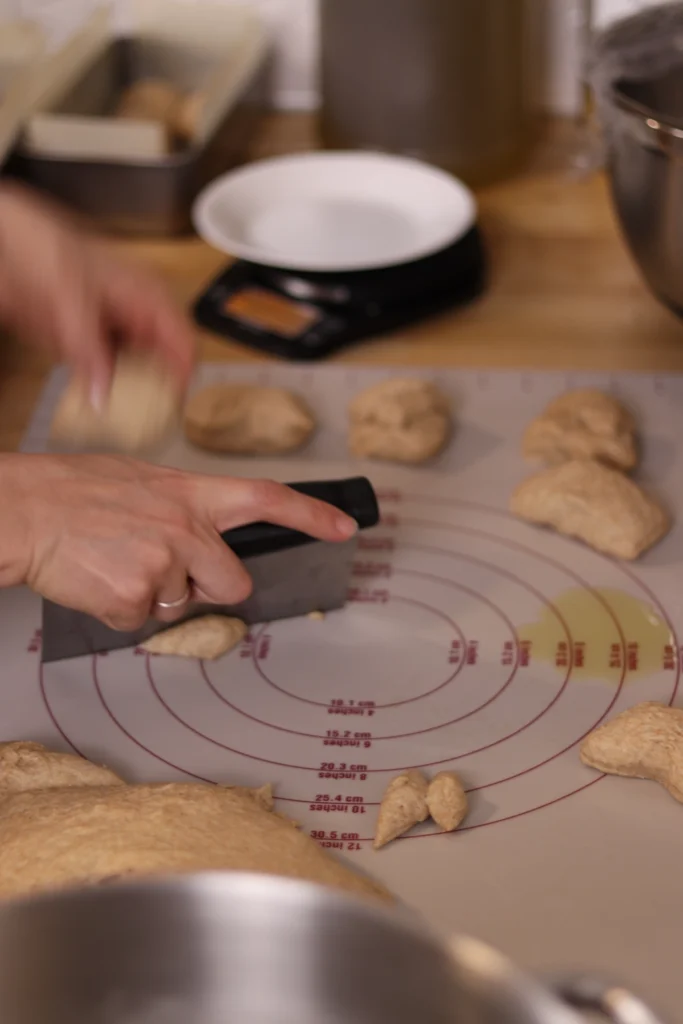
After 30 minutes when the dough is done with the first rise, dump it onto the oiled mat (or countertop) and cut off pieces the size you want your rolls to be. It’s easiest to use a dough cutter but you can also use a knife.
I like small rolls that are around 50 grams each or dough that’s about the size of a golf ball. The recipe is written for 50 gram rolls but if you prefer larger rolls you will need to adjust the baking time.
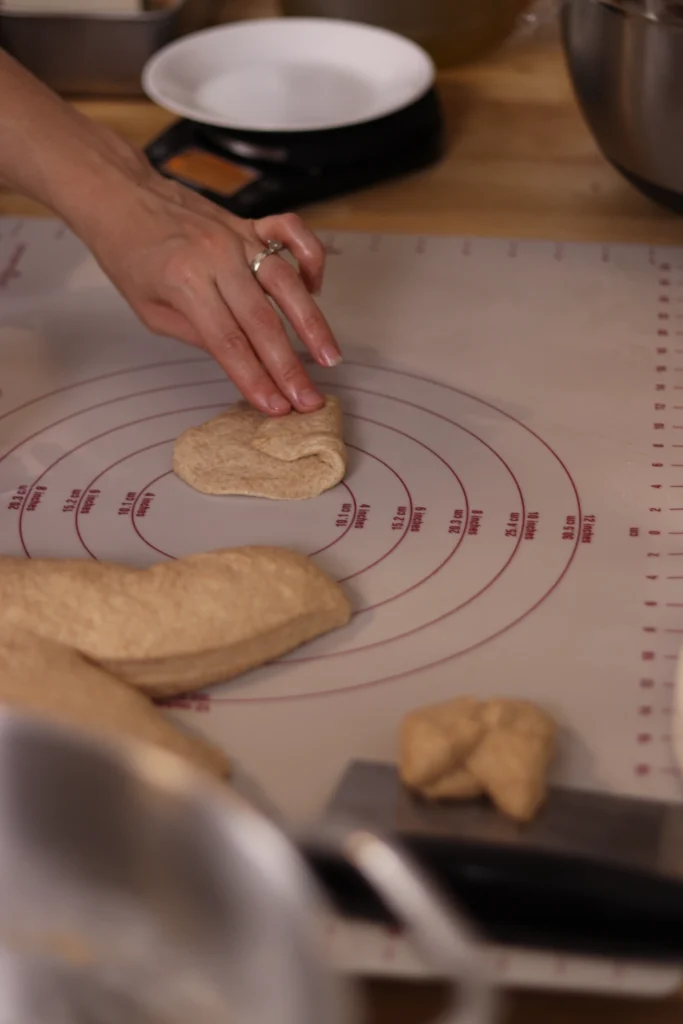
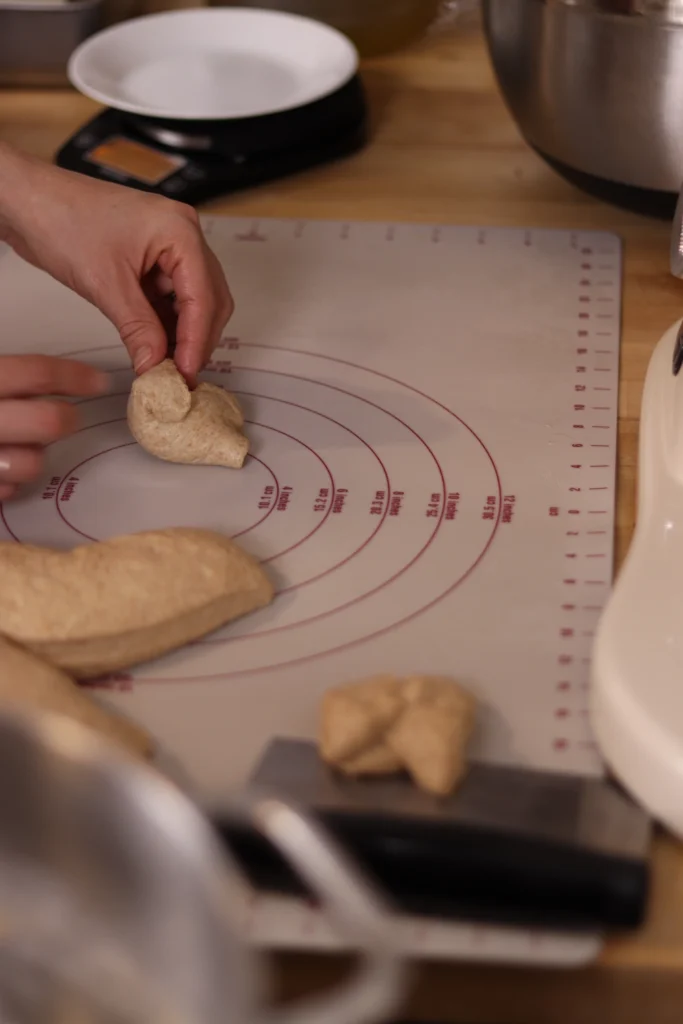
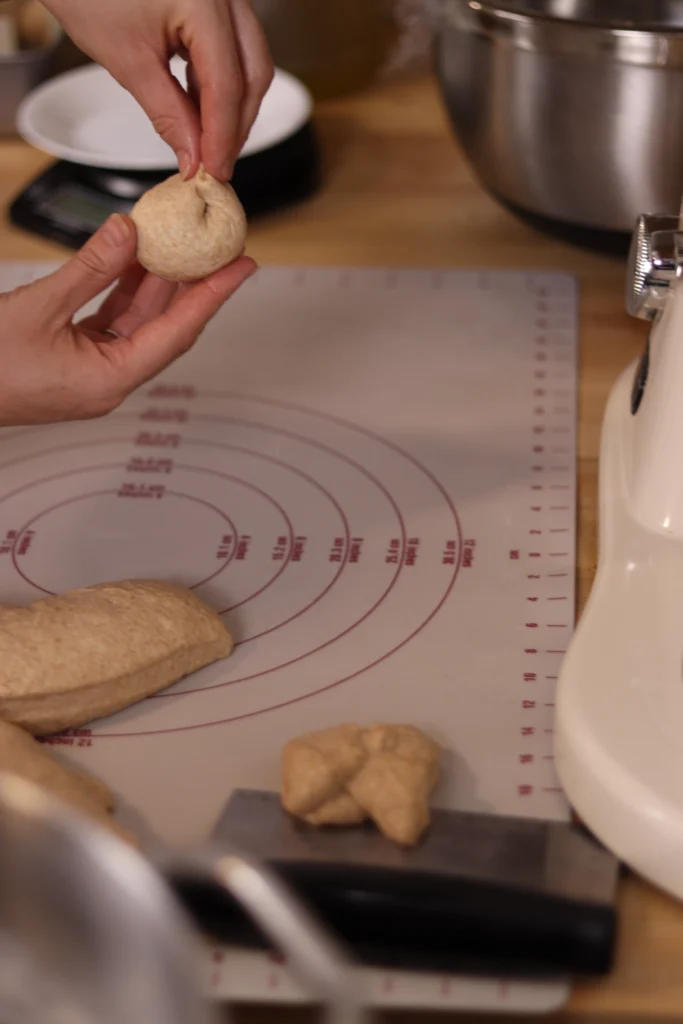
To shape the dough (see photos):
- Flatten your dough ball out with your palm
- Fold it over itself into thirds so that it makes a rectangle
- Roll it up
- Pinch the dough into a ball toward the seam, so that you are creating tension on the top of the dough ball and continuously pulling it toward the seam and pinching it.
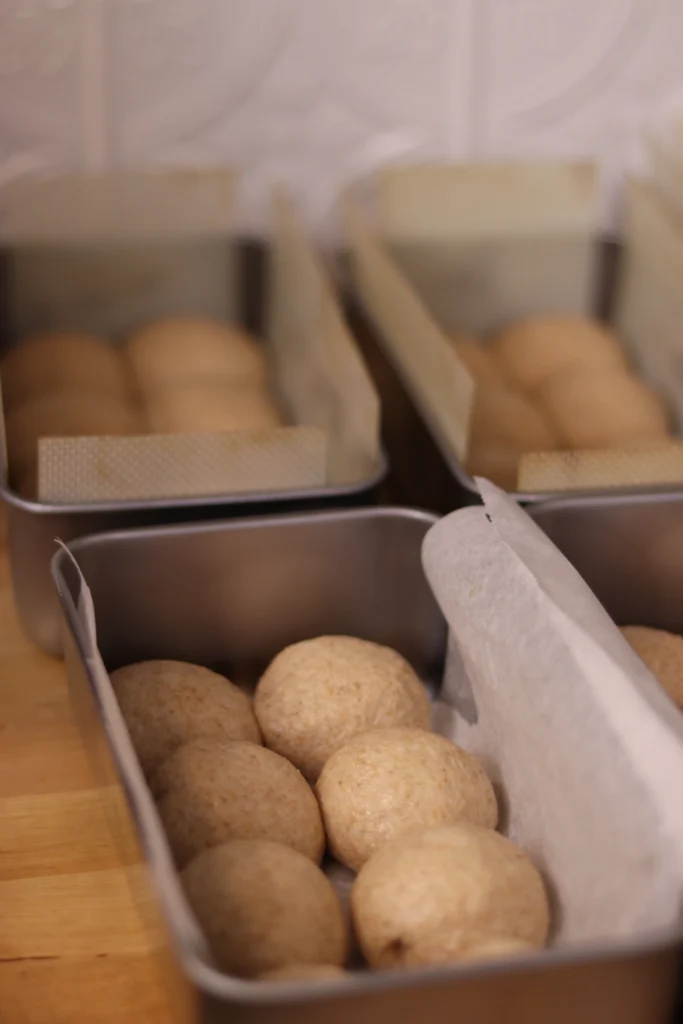
- Place your dough in your oiled pan.
I like to use a regular 9×5 bread pan and fit 8 rolls in it. I find that having them close together helps the rolls rise up more than out.
Second Rise
Once you’ve shaped all the dough balls and put them in the oiled pans, cover them with plastic wrap. Let them rise for another 30 minutes. This may take less time if your kitchen is very warm, or more time if it’s cold.
You can also preheat your oven to 400 F. (Once you put the bread in the oven, you will turn it down to 350 F)
Baking the Rolls
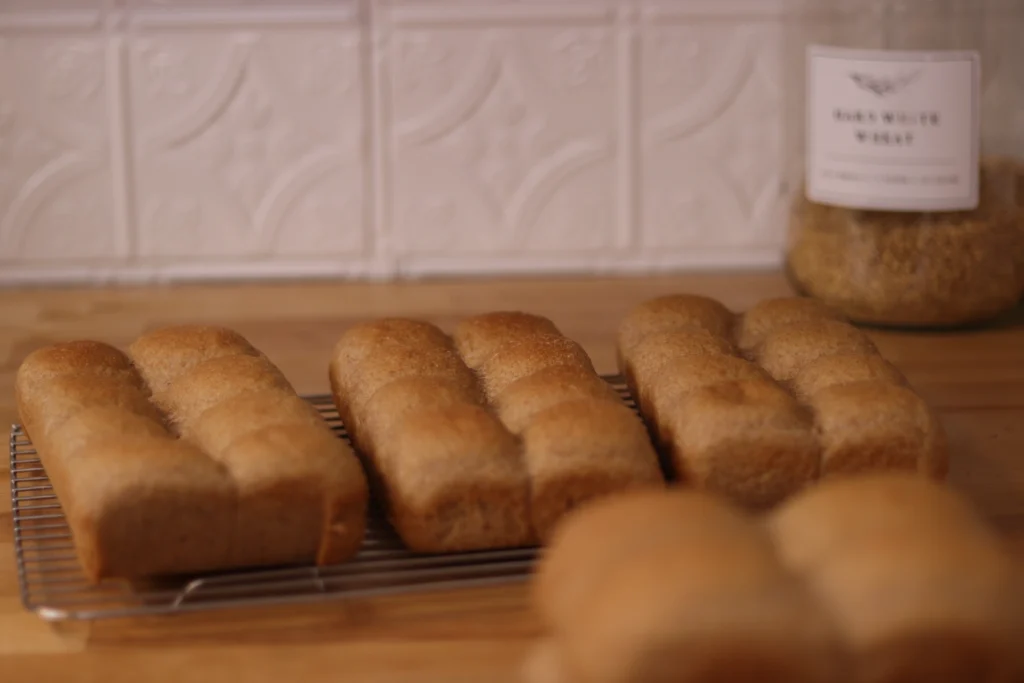
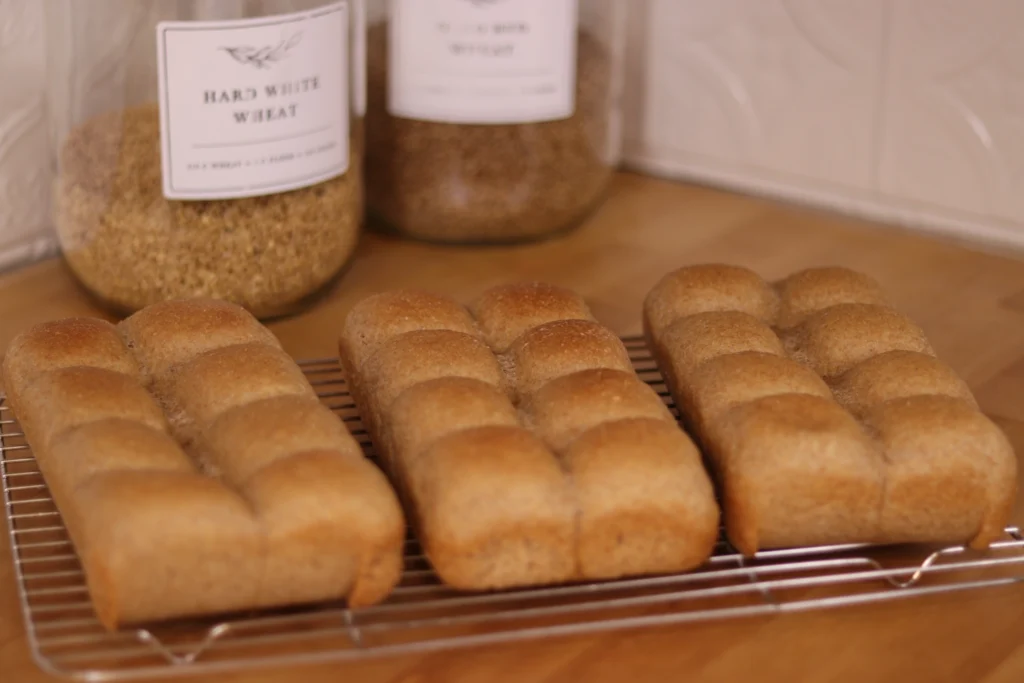
After the second rise and when the oven is preheated, place all the pans of rolls into the oven. Immediately turn the oven down to 350 after putting the bread in. Bake for 25-35 minutes.
When you think the bread is ready, test it with a food thermometer in the middle. Once the bread reaches 190-200 F it’s ready! Take the Rolls out and let cool for 5 minutes, then place on a wire cooling rack.
Storing the Rolls
The rolls will last for 2 or 3 days on the counter. You’ll want to keep them in a bag or container so they don’t dry out. Since there are no preservatives in them, they will eventually mold if left out.
If you can’t eat them all within a couple of days they freeze very well! If you are going to use them for sliders, pre-slice them before freezing. Otherwise, just put them in a freezer bag and they will last for up to 3 months in the freezer.
Measurement Conversion
This recipe is written in grams since that creates the most consistent recipe. If you don’t have a kitchen scale, you can use this ingredient conversion.
Ingredients by Volume (Cups and Teaspoons)
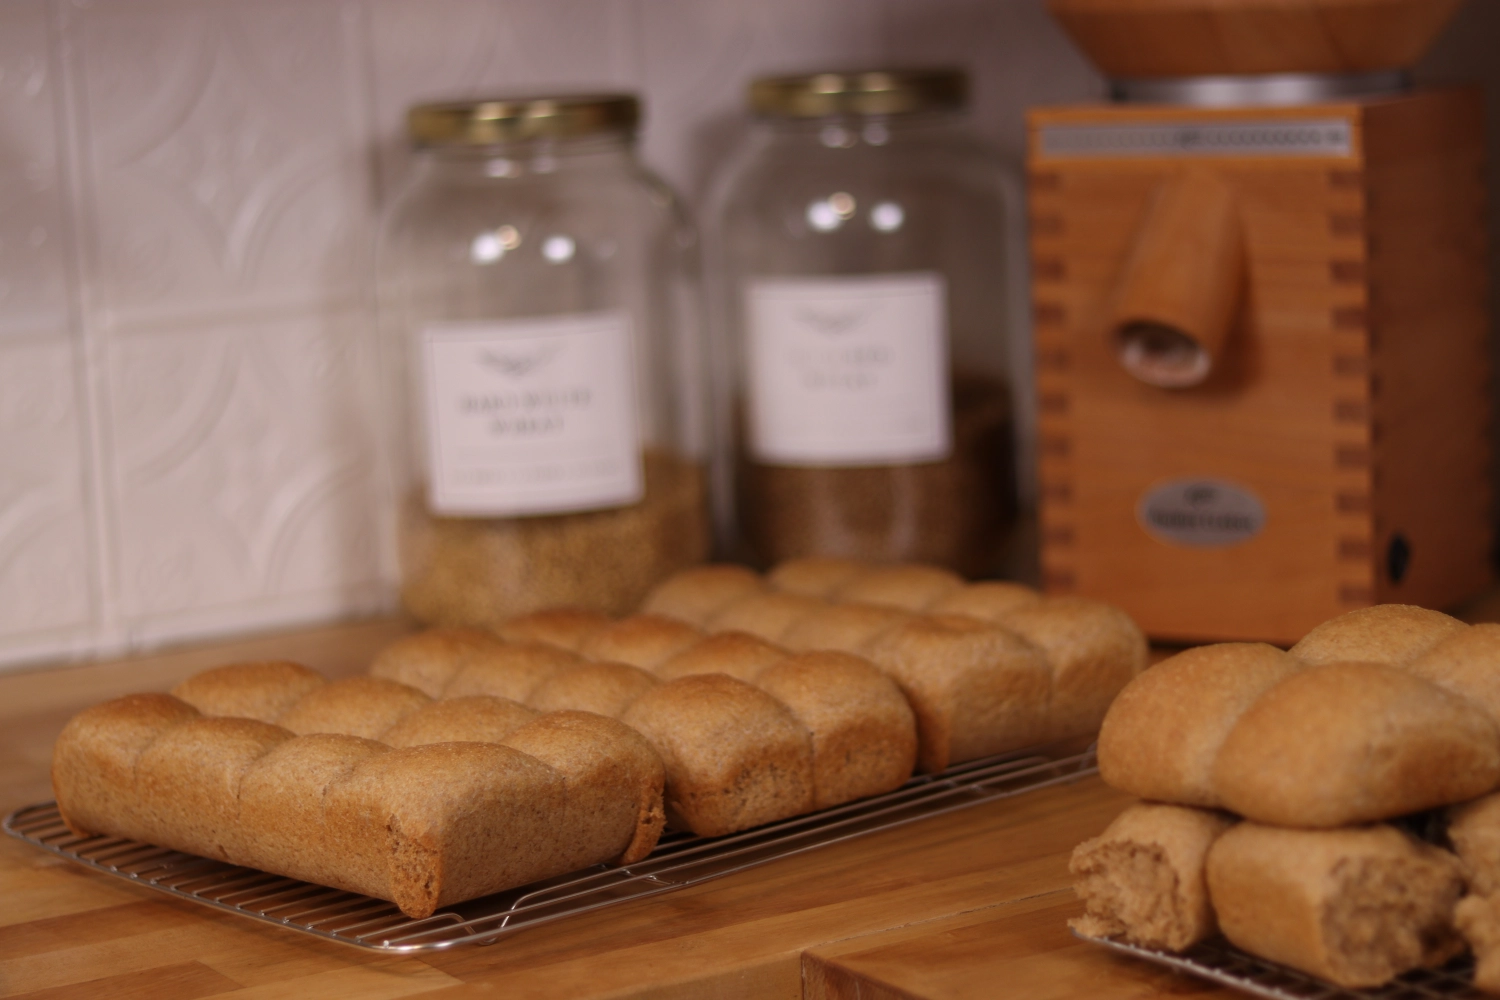
Dinner Rolls made with Fresh Milled Flour
Ingredients
Equipment
Method
- Mill the Flour into a large bowl. Mix in the salt.
- In another bowl mix together all wet ingredients: Olive oil, honey, and water (except the water reserved for mixing the yeast).
- Dump the wet ingredients into the dry ingredients and mix until well combined with a dough whisk or spoon.
- Cover the dough and let it sit for about 30 minutes. Fresh milled flour absorbs more water than store bought flour, but it take a little while. (Autolyze refers to mixing the flour and water and letting it absorb, but I find it easier to combine everything except the yeast at this step).
- After about 20 minutes mix the yeast to get it ready. Add the yeast to a small bowl, add a pinch of sugar or honey, add the lukewarm water (it should be about 90 F). After 5-10 minutes it should get foamy and bubbly.
- Dump the dough into the mixer and add the prepared yeast/water mixture on top. The time it takes to mix will depend on your mixer. Using our Zacme mixer I mix on speed 2 for 10-12 minutes. Fresh milled flour can take a while to finish kneading.
- Oil another large bowl well, and dump the dough from the mixer to the bowl. Let it rise for about 30 minutes. (It could take less time if your house is warm or more time if your house is cool).
- Get out your bread pans and oil them well, or add silicone liners or parchment paper to the pans.
- On a clean countertop or pastry mat, add olive oil and spread it around with your fingers. Dump the dough onto the pastry mat.
- Cut the dough into 50 gram chunks using a dough cutter or knife.
- Shape the dough by flattening it out, folding it into thirds, and rolling it up. Then pinch the dough from the top, down to the seam, to create tension on the top of the roll.
- Place the roll in the prepared pan. Repeat for all rolls.
- Cover the pans and let them rise again for about 30 minutes. This could take less time if your kitchen is very warm, and more time if it's cold.
- Preheat your oven to 400 (you will turn it down to 350 F after putting in the rolls).
- Put the rolls in the preheated oven then turn the oven down to 350 F
- Bake for 25-35 minutes. Check the rolls with a food thermometer. When the center reaches 190 F the rolls are done.
- Let the rolls cool in the pan for a few minutes until they are easier to remove. Then transfer to a cooling rack.
- The rolls will last for 2-3 days on the counter. You can also freeze them!
Summary
These fresh milled flour rolls are perfect for any occasion. They’re great for eating on their own, as a side dish, or for sandwiches.
They’re made in a stand mixer so there’s no kneading by hand involved. They come together easily, but the most tedious part is shaping each roll.
After you make them, they will store on the counter for 2-3 days in a bag or container.
The freeze very well! If you’re going to use them for sandwiches, make sure to slice them before freezing them. Then just put them in a freezer bag and put in the freezer. When you’re ready to use them, just get them out and let them thaw at room temperature for about an hour.